
As I wake up this morning, I feel as if Winter has set in. It’s 6:30am and the sky is still pitch black. I am greeted by my happy eager Labrador. He obviously has no concept of what early mornings and pitch black skies means as he is just ready for his walk to the park! I just couldn’t help thinking about when Winter comes around and it is going to be even more difficult to get out of bed to go to class so early! As I leave the house, I nearly forget the most important thing for class, my toolbox! I am definitely not quite awake yet.
Anyway, today must be a bad day for traffic as I am stuck in a jam for longer than usual. The most annoying thing is the bad traffic is right where I have to cross a bridge immediately before turning off. The whole drive should take 25 minutes but takes close to 40, of which 20 minutes of it is trying to get across that bridge!
I manage to find myself an all day parking outside once again and rush off to the change room to get changed into my uniform. I then manage to lose the keys to the lock of my toolbox which also doubles as a locker lock. I rush back towards my car only to realise I had it in my pocket of my jacket! Yep, definitely still half asleep!
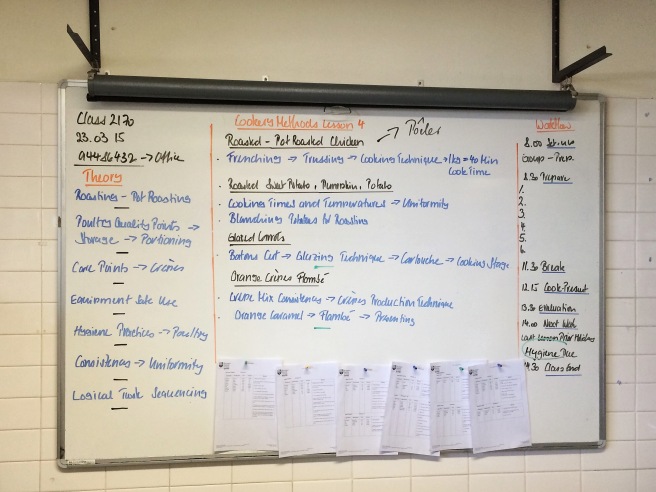
As I walk into the classroom, it feels rather empty and looks like it’s the first week with quite a few people away. The cold morning must have got the better of them. Chef Mauro pretty much gets on with the lesson and starts to place bags of vegetables which require peeling onto our benches. When I am nearly 2/3 through peeling my carrots, Chef Mauro gathers everyone to the front of the classroom and starts to go through today’s lesson and workflow.
Today’s lesson is mainly about roasting, with blanching as a secondary topic. Everyone will be doing a pot roast (poêter in French) whilst Chef Mauro will also demonstrates a pan roast chicken along side the pot roast chicken. We will also be roasting vegetables; potato, sweet potato and pumpkin along with learning how to cook glazed carrots. Finally, for dessert we will be making Crepe Suzette.
The workflow for today is:
1. Prepare the crepe mixture
2. Prepare the vegetables
3. Truss and prepare chicken for roasting
4. Roast vegetables
5. Cook crepes
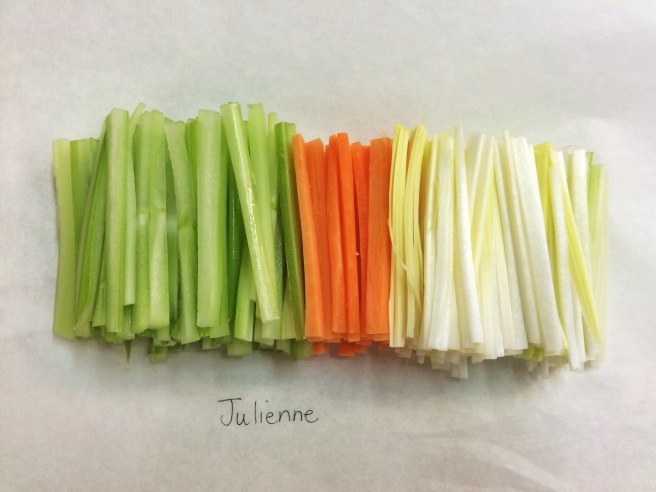
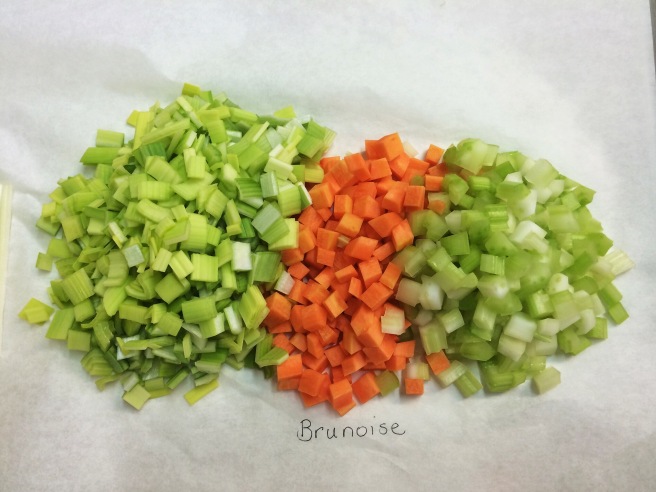
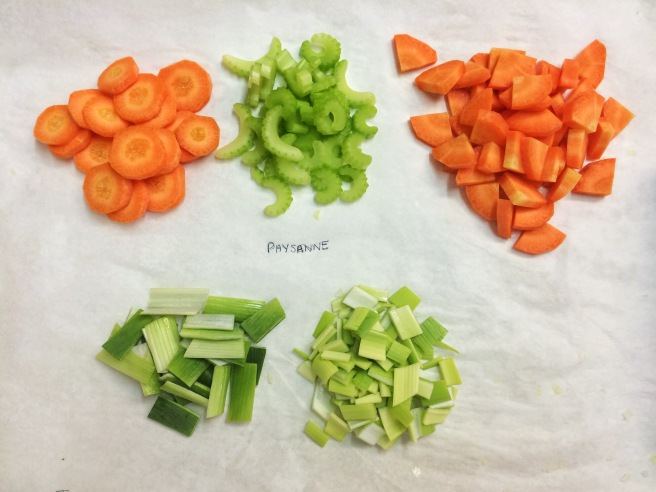
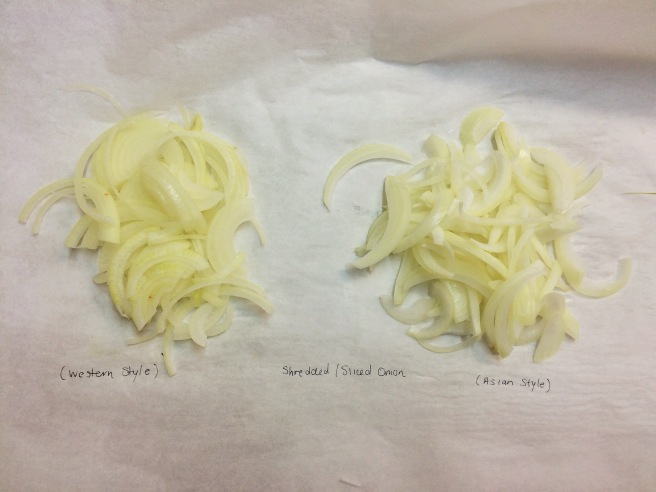
Chef Mauro begins by showing us how to cut the vegetables. He make a very valid point about the current trend towards ‘rustic’ food:we all can do rustic and, yes, it might suit cafes but we are here to learn skills and techniques that will enable us to work in restaurants. In the real world, precision cutting is exactly what the names suggests. Everything should be the same size to give a professional look.
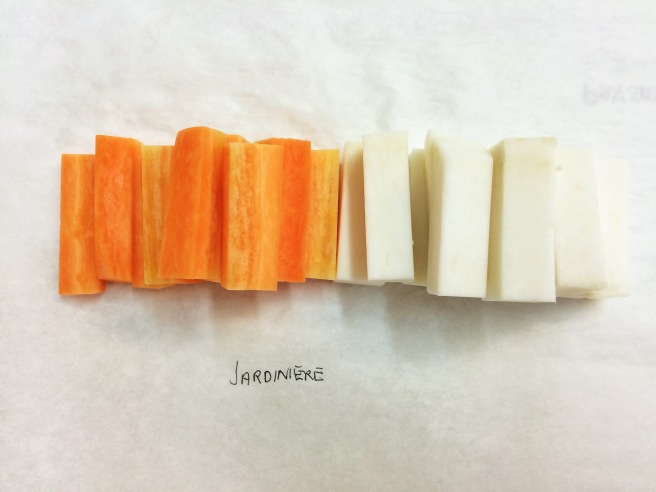
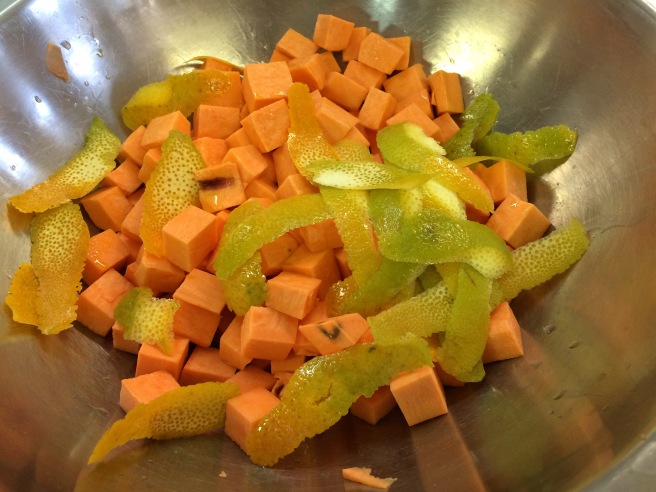
The sweet potatoes, pumpkin and potatoes are cut into macédoine whilst the carrots are cut into jardiniere.
We also do a mire poire of vegetables to stuff the chicken with and use this as a trivet to the pot roast. Chef Mauro explains the ratio of a mire poire nicely in a pie chart. 1/2 onion, 1/6 leek, 1/6carrots and 1/6 celery.

Next is the preparation of the chicken. It is important to assess the quality of the chicken and best to use fresh chicken. He also mentions that chickens that are raised too quickly with growth hormones usually have a very heavy/large breast and because of the development of the meat being faster than the bone structure, it is possible sometimes to find the bone structures of the chicken collapsing or splintering.
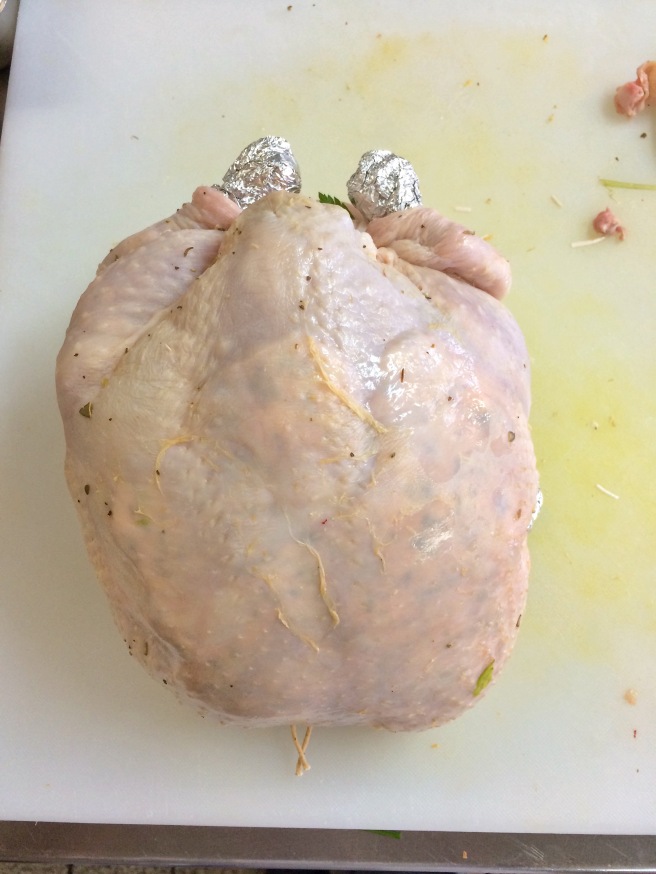
He shows us how to truss a chicken using two different methods. The purpose of trussing the chicken is to keep it moist whilst it is roasting. One method of trussing is the use of a slit in the skin near the thigh and tucking the leg into the slit. The other method is the use of butcher’s twine. Both method involves stuffing a mira poire of vegetables into the cavity of the chicken. Chef Mauro also shows us how to remove the wish bone and the technique of frenching before we go back to our benches and practice what we’ve learnt.
Frenching a chicken is removing the wing part whilst leaving the drumette attached to the breast but exposing the bone of the drumette by scraping down the meat. This is also known as “statler chicken”, a name which apparantely originated from the Boston Hotel Statler. We also french the drumstick by removing the end joint and scraping the meat towards the thigh. To prevent the exposed bone from burning and splintering, we wrap it up with foil. We also stuff herbed butter underneath the skin layer of the chicken to keep it moist. 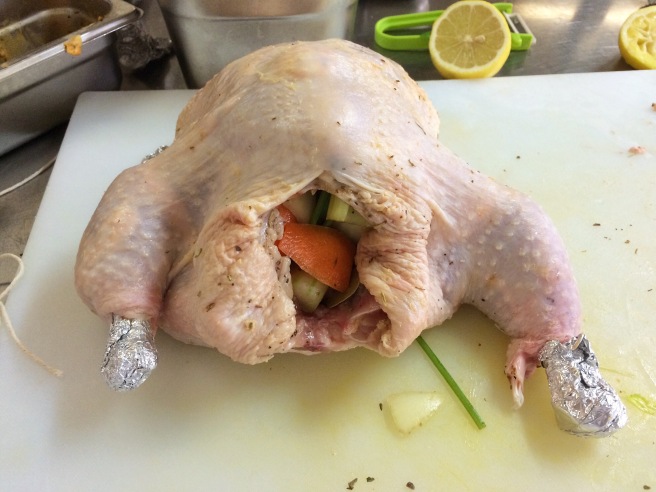
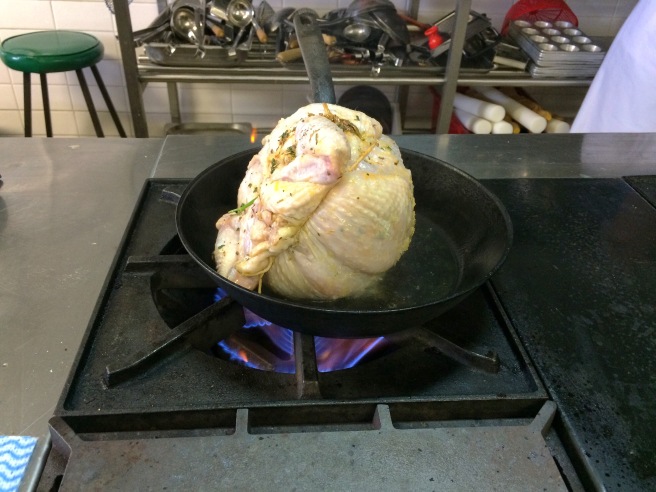
To cook the pot roast chicken, we add mire poire of vegetables to the base of the pot, followed by some white wine and enough water to allow it to produce steam whilst it cooks with the lid on. It is important to keep this hot enough so that steam keeps producing. Steam is what will cook the chicken whilst in the oven. Once this is steaming, we pop it into the oven at 200 degrees Celsius. A 1/2kg chicken should take 20 minutes, so given we had a 1.2 kg chicken it should be done in approximately 50 minutes. 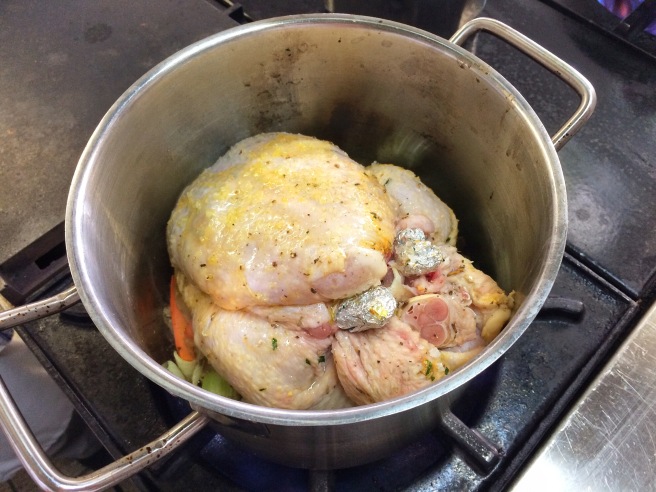
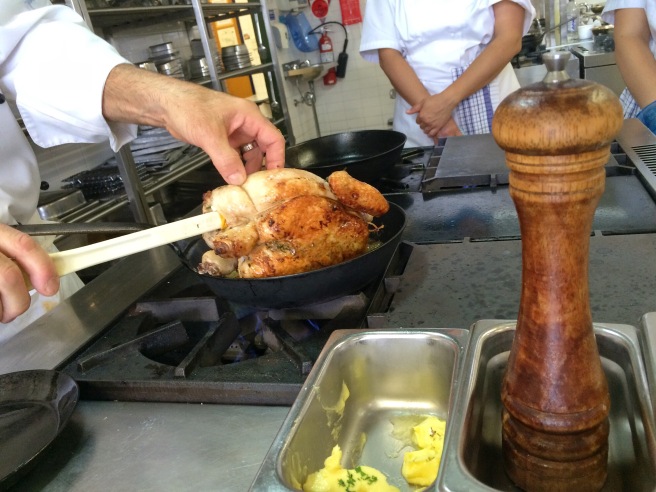
The pan roast chicken is done as a demonstration by chef Mauro. Firstly, all sides of the chicken are sealed in the pan before placing it in the oven.
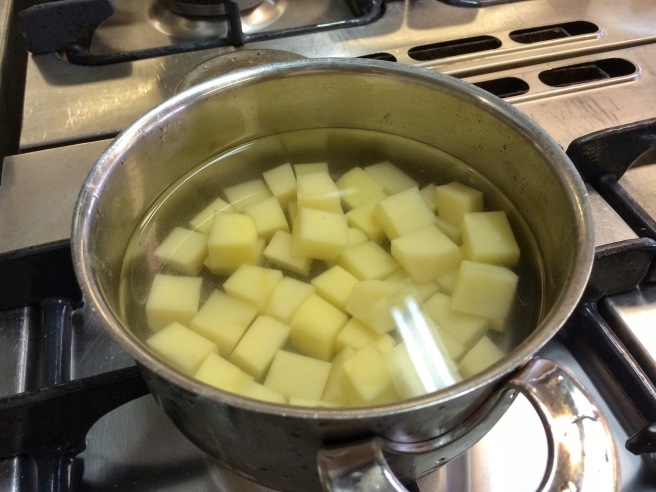
Whilst the chicken is cooking we blanch the potatoes before lightly pan frying them and finishing in our individual ovens. The sweet potato and pumpkin are both placed in the Combi oven.
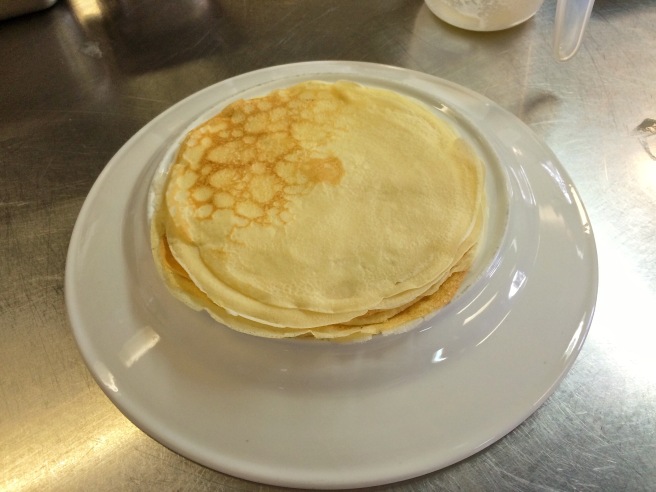
Next are the crepes. We cook these in a proper crepe pan and I realise it is not as easy as it looks. Trying to turn the crepe without burning my fingers is actually close to impossible. However, I do manage to turn out 6 round crepes that I think are acceptable.
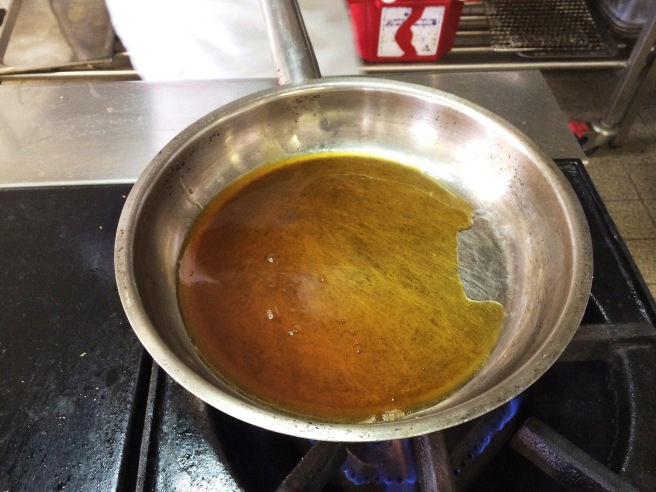
To finish off the crepes, we cook the sugar and butter syrup, add the crepes with the orange segments and flambé it with Grand Marnier. Many restaurants use to finish this dish off in front the diners as a bit of a show with the flambé.

The final demonstration by Chef Mauro is the portioning of the chicken and plating up. 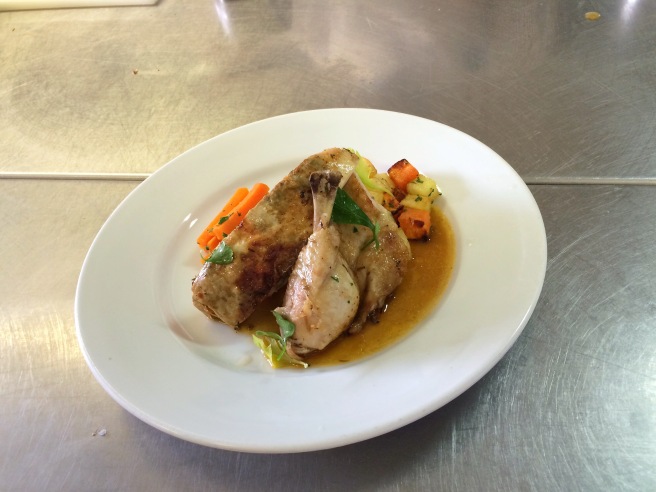
Next week is the last week beforethe mid semester break and we are learning to cook steak so I am definitely looking forward to this.